Key Steps for Placement
1. Prepare Your Equipment
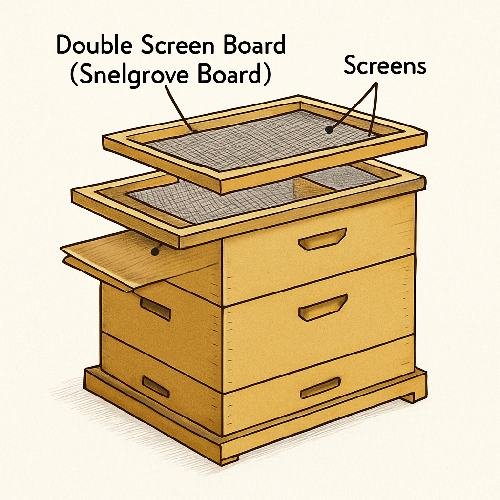
- Double screen board, sized to fit your hive
- Two hive boxes (bottom: resident colony; top: split/nucleus or requeening setup)
- Ensure entrances and any doors/sliders on the board are working
2. For Hive Splits
- Inspect the Hive First:
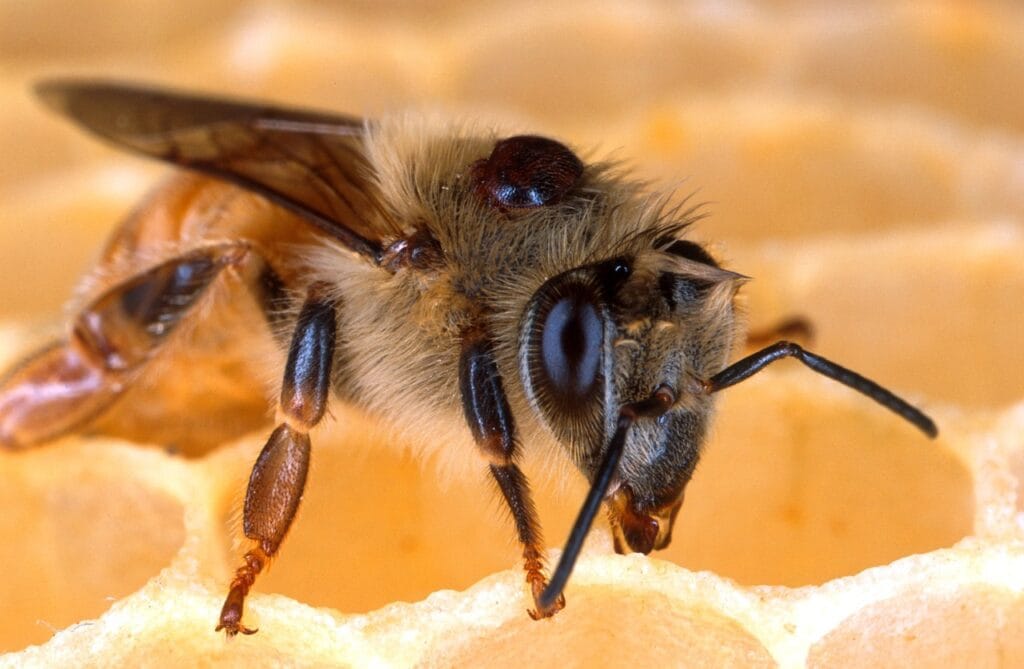
- Identify frames of brood and young nurse bees (often placed above the board).
- The queen typically remains in the lower box.
- Insert the Board:
- Place the double screen board flat atop the lower hive body (make sure it covers completely, no gaps).
- The screens should face up and down: one screen in direct contact with the top of the lower brood box, one with the bottom of the upper box.
- Confirm the bees cannot pass through, only warmth and pheromones.
- Add the Upper Box:
- On top of the board, place a new hive box containing the split (frames with brood/food and nurse bees, but no queen).
- If entrances are included in the board, orient the upper entrance 90–180° away from the lower entrance (for example: lower entrance faces front, upper faces back or side), helping bees orient separately.
- Set the Entrances:
- Open the upper entrance for the split or queenless side.
- Ensure the main entrance for the parent colony (below) stays open.
3. For Requeening
- Queenless Section Above:
- Place frames with nurse bees and young brood (no queen) in the top box.
- Add the double screen board between the two, following procedure above.
- Add the Queen (if introducing):
- Place a caged queen in the upper box with young bees.
- Allow 2–3 days for the scents to mingle through the screen, then release the queen from her cage into the upper box.
4. Key Positioning Details
- Screens must fully separate upper and lower boxes;
- Entrances for each level must be distinct (not directly one above the other);
- Make sure the board is level and tight—any gaps could allow bees to bypass the board, undermining its purpose;
- If using a Snelgrove board with multiple doorways, open only those needed for your manipulation, often starting with just a single upper entrance.
Table: Positioning Overview
| Step | Action | Details |
| 1 | Place board on lower hive box | Screens align with hive body tops/bottoms |
| 2 | Add upper box (split or queenless setup) | Directly on top of the screen board |
| 3 | Open upper entrance (board or box) | Face away from lower entrance for bee orientation |
| 4 | Close unused entrances | Prevent stray bee traffic between boxes |
Tips for Success
- Always use frames with mostly young bees and brood for the upper box—older bees tend to return to the original entrance.
- Check that the screen mesh is bee-proof but allows plenty of ventilation.
- When combining colonies, after a few days (when bees share scent), you may gradually open more entrances or remove the board.
This positioning method allows for controlled splits, safe queen introduction, and smooth recombining by managing bee movement and pheromone exchange without risk of direct fighting or premature queen loss.