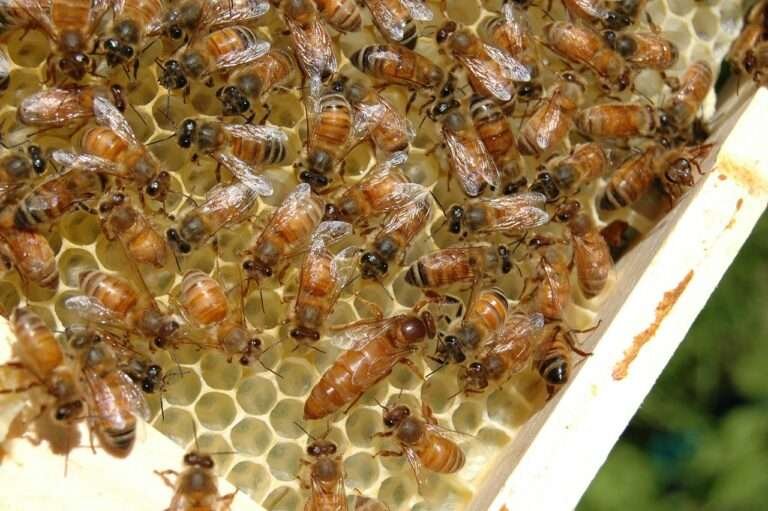
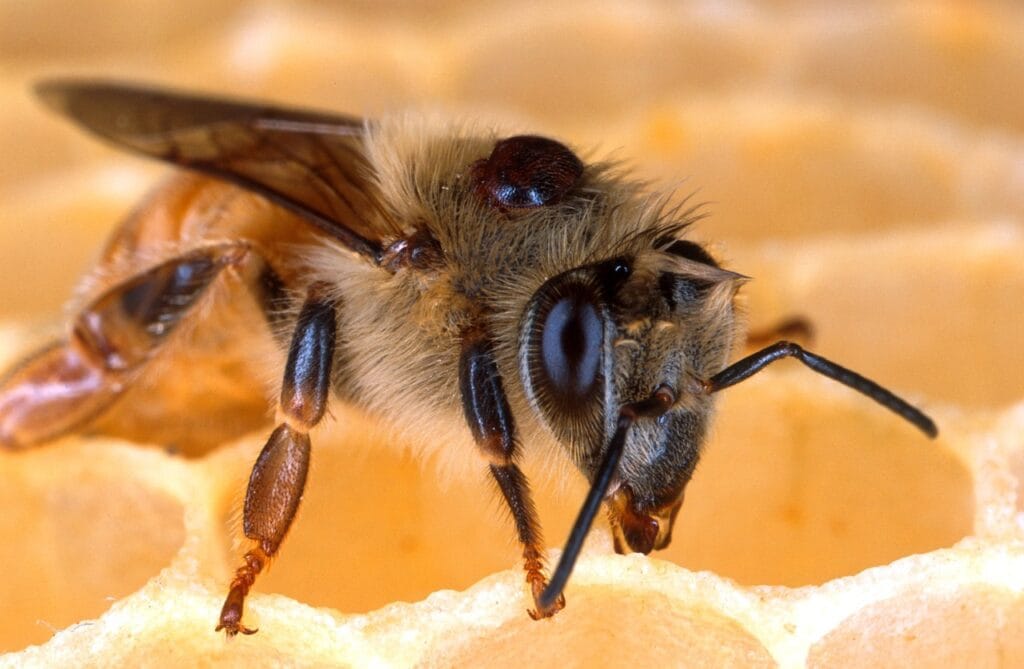
Rearing your own queen bees empowers selective breeding for desirable traits—such as honey production, disease resistance, gentleness, and overwintering survival—while ensuring a reliable supply of high-quality queens for your apiary.
1. Why Rear Your Own Queens?
Rearing your own queens allows beekeepers to:
- Selective breed for traits like honey yield, mite resistance, and temperament by choosing the best breeder colonies.[1]
- Reduce costs and dependency on external suppliers by producing surplus queens for requeening or sale.
- Control genetics locally, improving colony performance over successive generations through survivor stock selection.[2]
2. Biology of Queen Development
All female larvae start identically; the caste fate depends solely on their diet:
- Worker diet (pollen + honey) from day 3 onward → worker bee.
- Royal jelly diet exclusively from hatching to pupation → queen bee.[3]
A healthy queen:
- Lays 1,000–3,000 eggs per day.
- Produces pheromones that maintain colony cohesion.
- Stores sperm from multiple drones for years.[2]
3. Core Queen Rearing Methods
3.1. Grafting (Doolittle Method)
- Prepare Laying Frame: Confine the breeder queen on a comb 4 days before grafting to ensure eggs of known age.[4]
- Select Larvae (Day 4): Under bright light, choose larvae ≤ 24 h old, comma-shaped in royal jelly (avoid larvae already worker-destined).[5]
- Graft: Use a Chinese-style grafting tool to scoop larva + royal jelly into clean queen cups mounted on cell bars.[5]
- Starter Hive (24–36 h): Introduce grafted frame to a queenless, food-rich nuc with young nurse bees to initiate queen cell construction.[2]
- Finisher Hive (Day 5): Transfer starter frame into a strong, queenright colony above an excluder so nurses provision and seal cells.[2]
- Mating Nucs (Day 12–14): Remove sealed cells to small, queenless nucs stocked with brood and food for emergence and mating.[2]
3.2. Graft-Free Systems
- Jenter/Nicot: Confine the queen in a box atop a brood frame where she lays eggs into removable 10 × 11 cell grids. Transfer cups to cell builders when larvae hatch.[6][5]
- Walk-Away Splits/Miller Method: Provide swarm-preparation stimuli (high population, limited space) to induce natural queen cell production; select and redistribute emerging cells.[7][1]
4. Equipment and Hive Configurations
- Grafting Tools: Chinese grafting tool, fine‐tip German tool, or Chinese spring loader.[5]
- Queen Cell Cups & Bars: Plastic or wax cups affixed to grooved bars in standard frames.[5]
- Starter Hive: Five-frame nuc with one cell bar frame, two frames of brood, two frames of pollen/honey; queenless, crowded with young bees.[2]
- Finisher Hive: Strong, queenright colony with excluder above queen; frames of open brood and pollen/honey flanking an empty comb space.[2]
- Mating Nucs: Three- to five-frame nucs with one frame of open brood, one frame of stores, and empty comb for egg laying; queenless until introduction.[2]
5. Queen Rearing Schedule
| Day | Task |
| 1 | Breeder queen lays eggs |
| 3 | Eggs hatch |
| 4 | Graft larvae; place grafts into starter hive |
| 5 | Move grafts to finisher hive |
| 8–9 | Queen cells sealed |
| 12–14 | Move sealed queen cells to mating nucs |
| 16 | Adult queens emerge from cells |
| 21 | Virgin queens begin nuptial flights |
| 30 | Mated queen laying eggs |
| 32 | Evaluate brood pattern of new queen |
Table: Queen rearing tasks aligned with queen development.[2]
6. Post-Rearing Management
- Caging & Banking: Use screened queen cages with candy plugs; bank virgin or mated queens in finisher-style hives for up to two weeks, but mate virgins promptly to prevent loss of mating instinct.[2]
- Marking Queens: Use international color system by year’s last digit to track queen age.[2]
- Shipping: Ensure proper ventilation, minimal transit time, and pre-shipping hydration to reduce stress.[2]
7. Common Pitfalls & Tips
- Larval Age: Using larvae older than 24 h yields inferior queens; always confirm egg-to-larva timeline.
- Humidity & Temperature: Maintain high humidity (~90%) and avoid drafts during grafting; finisher hives regulate cell temperature.
- Record Keeping: Diligent records prevent mis-timing, early emergences, and queen cell destruction.[2]
- Pest Vigilance: Small nucs are susceptible to wax moths and beetles; inspect frequently.
In Summary
Queen rearing is both an art and a science. By mastering these methods and adhering strictly to developmental timelines, beekeepers can reliably produce high-quality queens tailored to their apiary’s needs.
⁂
- https://www.blackmountainhoney.co.uk/post/rearing-queen-bees
- https://www.uaex.uada.edu/publications/PDF/MP518.pdf
- https://agriculture.vic.gov.au/livestock-and-animals/honey-bees/handling-and-management/raising-queen-honey-bees
- https://cambp.ucdavis.edu/knowledge-base/grafting
- https://pollinators.psu.edu/assets/uploads/documents/Queen-Cell-Production-Grafting-and-Graft-Free-Methods.pdf
- https://extension.psu.edu/queen-cell-production-grafting-and-graft-free-methods/
- https://www.beesource.com/threads/hobbyist-queen-rearing-setup.372126/
Ad – Amazon Associate Store


